 Skip to content
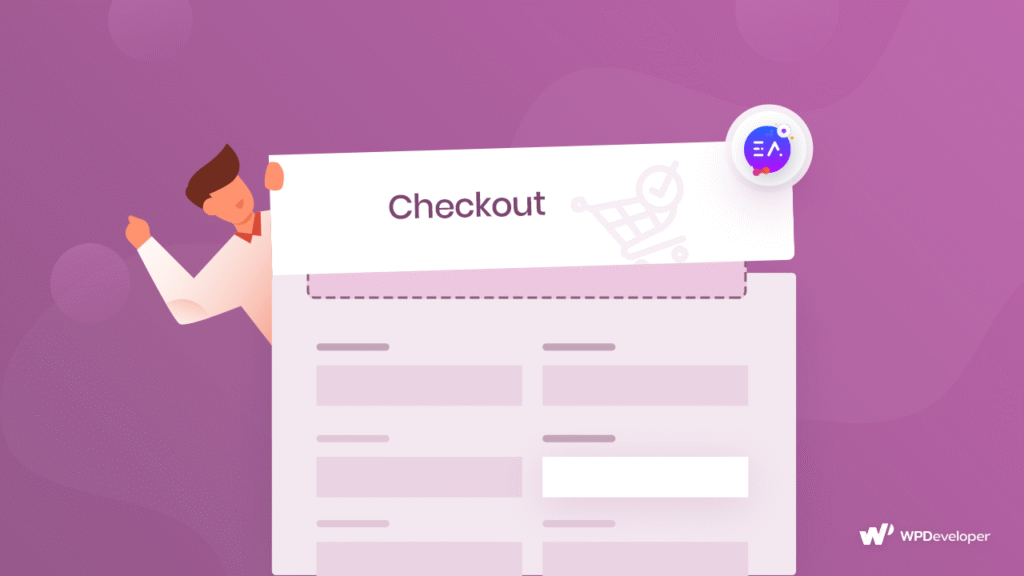
Learn how to add a product removing button in WooCommerce checkout page using custom code and enhance user experience easily.
How to Add a Product Removing Button in WooCommerce Checkout Page
WooCommerce is a powerful eCommerce plugin that turns your WordPress website into a fully functional online store. But when it comes to customization, especially at the checkout stage, users often find limitations. One common request is how to add a product removing button in WooCommerce checkout page—something that can drastically improve the user experience.
In this article, we’ll walk through how you can add a product delete button in your WooCommerce checkout page using a custom code snippet. This small tweak can reduce cart abandonment, enhance usability, and ultimately boost conversions.
Let’s dive right in.
Why Add a Product Removing Button at Checkout?
Before we get into the technical steps, it’s important to understand why this feature matters.
1. Improve User Experience
Imagine a customer reaching the checkout page and realizing they added the wrong product. Without a remove button, they’d have to go back to the cart, remove it, and then proceed again—an unnecessary hassle. By allowing customers to remove items directly at checkout, you simplify the process and remove friction.
2. Reduce Cart Abandonment
Studies suggest that poor checkout experiences can lead to increased cart abandonment. A product remove button is a simple fix that can help keep customers engaged and willing to complete their purchase.
3. Match User Expectations
Most popular eCommerce platforms (like Amazon or Shopify) allow editing the cart at any stage. Adding this feature to your WooCommerce store helps align your store with modern UX standards.
How to Add a Product Removing Button in WooCommerce Checkout Page
Now, let’s talk about how you can actually implement this functionality using a bit of custom code.
You don’t need a plugin for this. By adding a small function to your WordPress theme’s functions.php file (preferably using a child theme), you can enable a product remove button on the checkout page.
Use This Custom Code Snippet:
function lionplugins_woocommerce_checkout_remove_item( $product_name, $cart_item, $cart_item_key ) {
if ( is_checkout() ) {
$_product = apply_filters( 'woocommerce_cart_item_product', $cart_item['data'], $cart_item, $cart_item_key );
$product_id = apply_filters( 'woocommerce_cart_item_product_id', $cart_item['product_id'], $cart_item, $cart_item_key );

$remove_link = apply_filters( 'woocommerce_cart_item_remove_link', sprintf(
'<a href="%s" class="remove" aria-label="%s" data-product_id="%s" data-product_sku="%s">×</a>',
esc_url( WC()->cart->get_remove_url( $cart_item_key ) ),
__( 'Remove this item', 'woocommerce' ),
esc_attr( $product_id ),
esc_attr( $_product->get_sku() )
), $cart_item_key );

return '<span>' . $remove_link . '</span> <span>' . $product_name . '</span>';
}

return $product_name;
}
add_filter( 'woocommerce_cart_item_name', 'lionplugins_woocommerce_checkout_remove_item', 10, 3 );
Where to Add This Code:
-
Go to Appearance > Theme File Editor in your WordPress dashboard.
-
Find and open the
functions.phpfile of your active theme. -
Paste the above code at the bottom and click Update File.
Alternatively, you can use a plugin like Code Snippets to safely add custom PHP code without editing theme files directly.
What This Code Does
This function hooks into the woocommerce_cart_item_name filter. When the checkout page is loaded, it appends a “×” (remove) link next to each product name. Clicking the link will instantly remove that item from the cart.
Benefits of This Approach:
-
No need to install extra plugins.
-
Works with almost any theme.
-
Fully compatible with WooCommerce core functions.
